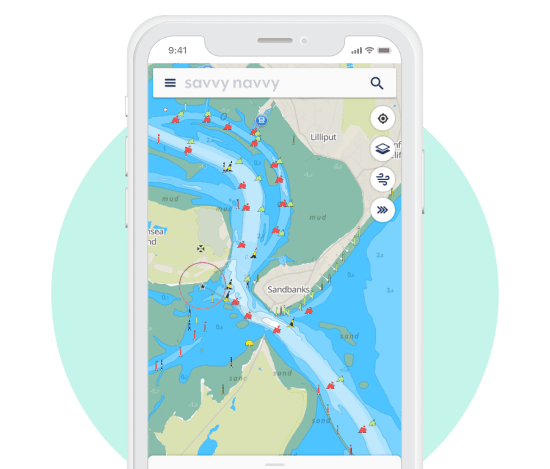
Use any GPS—watch, handheld, or phone—to map routes, pace smarter, and stay safer on the water. Simple setup, real training gains, better decisions.
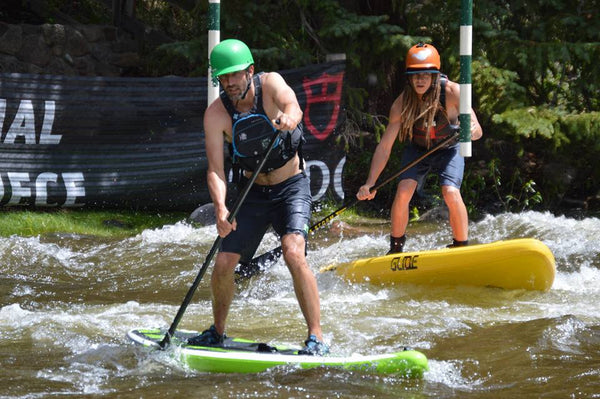
Learn to paddle your SUP faster with efficient stroke mechanics, smart stance, higher cadence, focused training, race-ready gear and fins, drafting tactics, and mindset habits you can apply on every session.
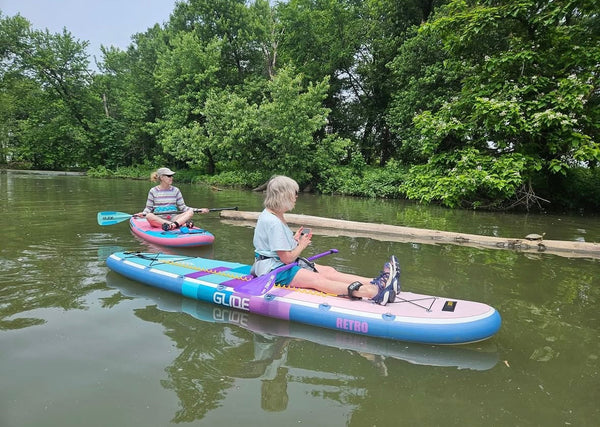
Wondering whether to choose a paddle board or a kayak? This guide compares stability, fitness, cost, and versatility — and shows why Glide’s SUPs with kayak conversion kits give you the best of both worlds. Perfect for beginners and adventure seekers alike.
Wondering whether to choose an inflatable or hard paddle board? This guide covers pros, cons, performance breakdowns, and expert Glide picks for 2025. Learn how each board handles flatwater, surf, rivers, and travel — plus get tips for care and longevity so your SUP lasts for years.
Not sure what size paddle board you need? Our paddle board size guide explains how length, width, and volume affect stability and performance. Learn how to match your board to your weight, skill, and paddling goals—plus see our top Glide SUP recommendations.
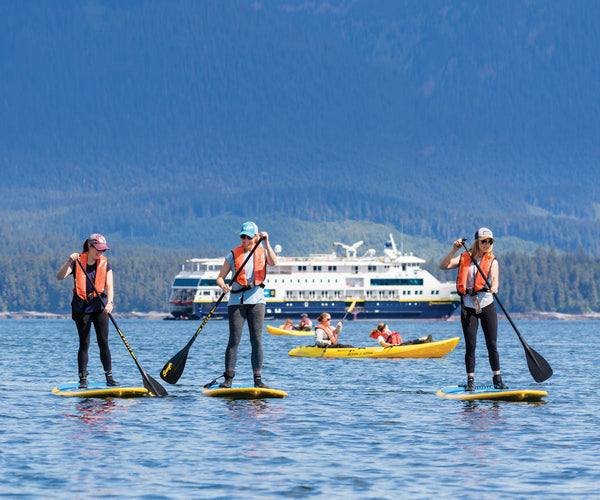
Ready to start paddle boarding? This beginner-friendly guide covers everything from choosing the right board and paddle to mastering balance, safety, and SUP techniques. Learn how to paddle with confidence and make the most of your first adventures on the water.
The Glide Mako is built for serious SUP fishing. With rod holders, a kayak conversion kit, pedal drive compatibility, and 500+ lb capacity, it’s the best inflatable paddle board for fishing in 2025.
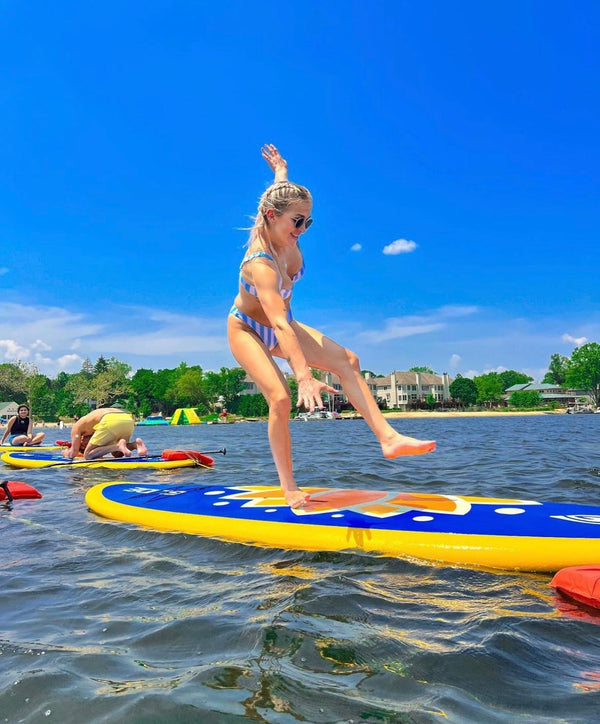
Once you’ve mastered the basics, advanced SUP skills open up a new world. From pivot turns and power strokes to SUP surfing, yoga, and long-distance touring, this guide shows you how to take your paddle boarding to the next level.
Paddle boarding with your dog is an adventure like no other. This guide covers gear, training, and safety tips to help you and your pup enjoy SUP together — from first steps to full days on the water.
Wondering if you should get an inflatable or hard paddle board? For beginners, inflatables win almost every time—stable, lightweight, durable, and easy to store. Here’s why they make learning to paddle board so much easier.
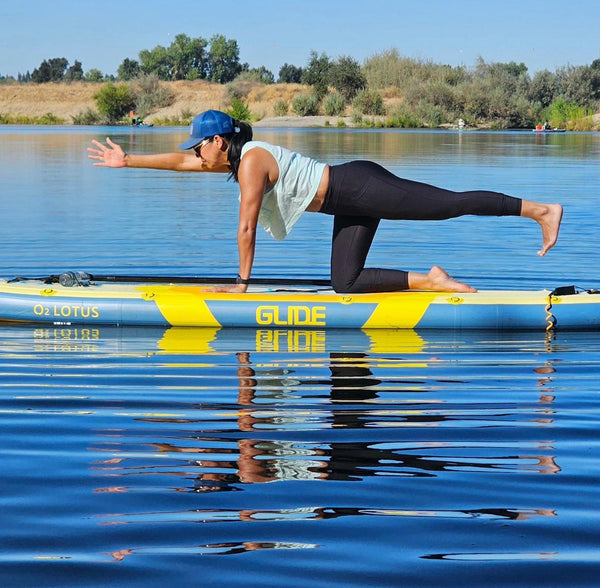
Looking for the best paddle board for yoga in 2025? Discover why the Glide Lotus Elite is the top choice for SUP yoga—from its clean, full-length deck pad to its ultra-stable 34” width. Whether you're new to SUP yoga or guiding classes, this board supports your flow without distractions. Learn what features to look for, how SUP yoga differs from land-based practice, and tips for beginners.
Shopping for a paddle board in 2025? Not all SUPs are built the same, and choosing the wrong one can mean wasted money and a poor experience on the water. A quality paddle board should offer stability, glide efficiently, and last for years—not just one season. In this guide, we explain how to spot the best paddle board construction, from cross-woven dropstitch cores to multi-layer rails and upgraded accessories. Learn the red flags of cheap inflatable paddle boards, how to avoid low-quality models, and what features to look for when investing in a board that’s truly worth it.
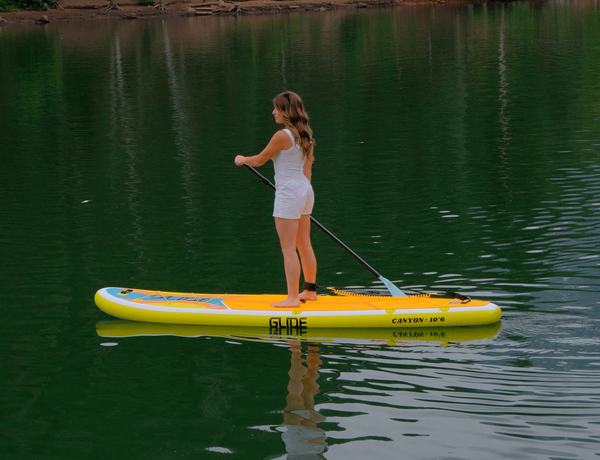
Choosing your first paddle board can feel overwhelming—should you go inflatable or hard board, long or short, wide or narrow? The wrong choice can make learning frustrating, but the right beginner SUP will help you build confidence and balance from day one. In this guide, we cover everything beginners need to know in 2025: why stability matters most, how board weight affects ease of use, what to look for in deck pads and construction, and our top pick for the best beginner paddle board.
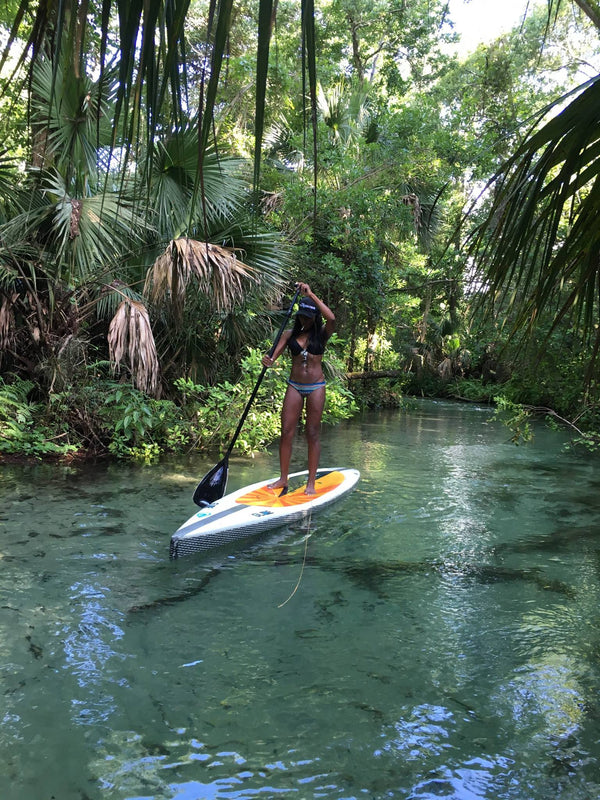
Learning how to stand up paddle board isn’t as tricky as it looks. With the right beginner board, calm water, and a few simple techniques, most people can stand and paddle confidently in less than 30 minutes. This step-by-step guide walks you through everything you need to know: starting on your knees, standing safely, finding balance, paddling straight, and avoiding common mistakes. Whether you’re brand new to SUP or just need a confidence boost, these beginner tips will get you on the water and having fun fast.
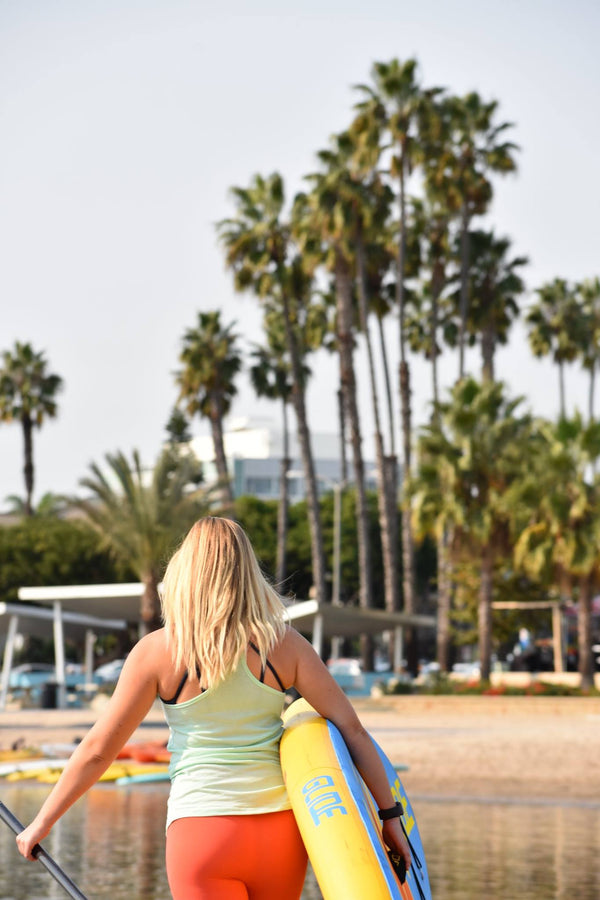
New to paddle boarding? Avoid these common beginner mistakes that can ruin your first ride — from board choice to paddle grip. This quick guide helps you paddle smarter, safer, and more confidently.
No spam—just sales, launches, advice